When my wife and I moved to Seattle we parted with a lot of the Ikea furniture from our college days. We wanted to start acquiring high quality items but were turned off by the prices. I decided that I would take it upon myself to design and build a custom hardwood bookshelf.
Design
I initially looked online for plans but didn’t find anything that exactly suited my needs. I was able to use the plans I found as inspiration though. One woodworking website, Brezlin, gave recommendations for shelf height, width, materials, and construction. I found a complete design from FreeTallBookshelfPlans.com. I also found some plans on Popular Mechanics that detailed some in-wall bookshelves. The Popular Mechanics plans were the most useful and I adapted many features into my design.
My bookshelf was to be standalone so that it could still be portable between future homes. I also wanted to have some tall shelves to fit larger books. Any fasteners or mounting hardware needed to be hidden in final use. This was achieved by controlling the order of assembly, covering up brad nail heads with a hole filler, and use of biscuits. I also needed to have strong shelves as I planned to put on lots of heavy books. To increase strength dadoes were placed between the shelves and vertical supports.
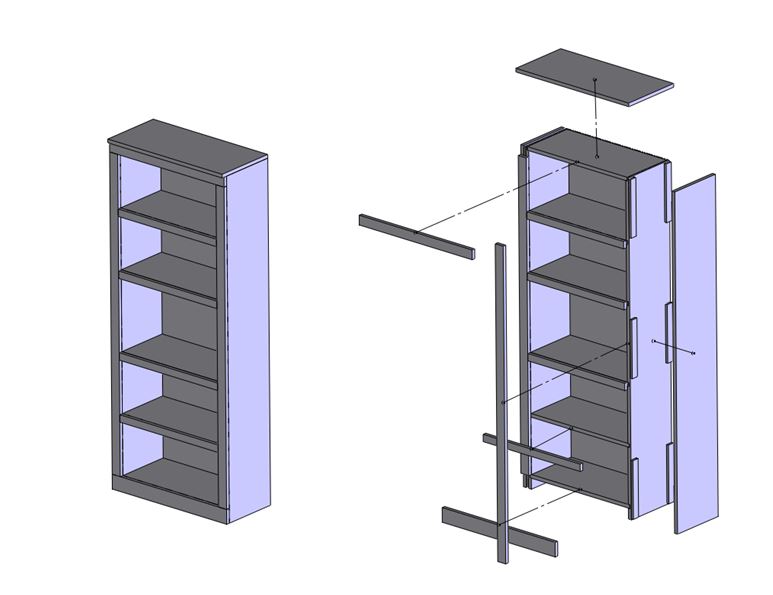
3D model of bookshelf

Wood cut list
I next modeled the bookshelf in Solidworks. It was put together as a multi body model using standard lumber geometry. I was on the fence about using CAD but it allowed me to consider assembly and keep exposed fastening hardware to a minimum. The CAD also allowed me to create a bill of materials and cut list. The cut list was incredibly useful and reduced the amount of lumber I needed to buy. It was also useful in that it allowed me to create work instructions that minimized the amount of time it took the build the shelf.
Construction
The next challenge was where to construct this bookshelf. I lived in an apartment with no access to a shop or garage and didn’t have many tools. I found out about the West Seattle Tool Library , a community library that lends out tools for use with projects such as mine. As an added perk, they also had a small workspace with common woodworking tools. I passed the safety tests and started building the shelf.
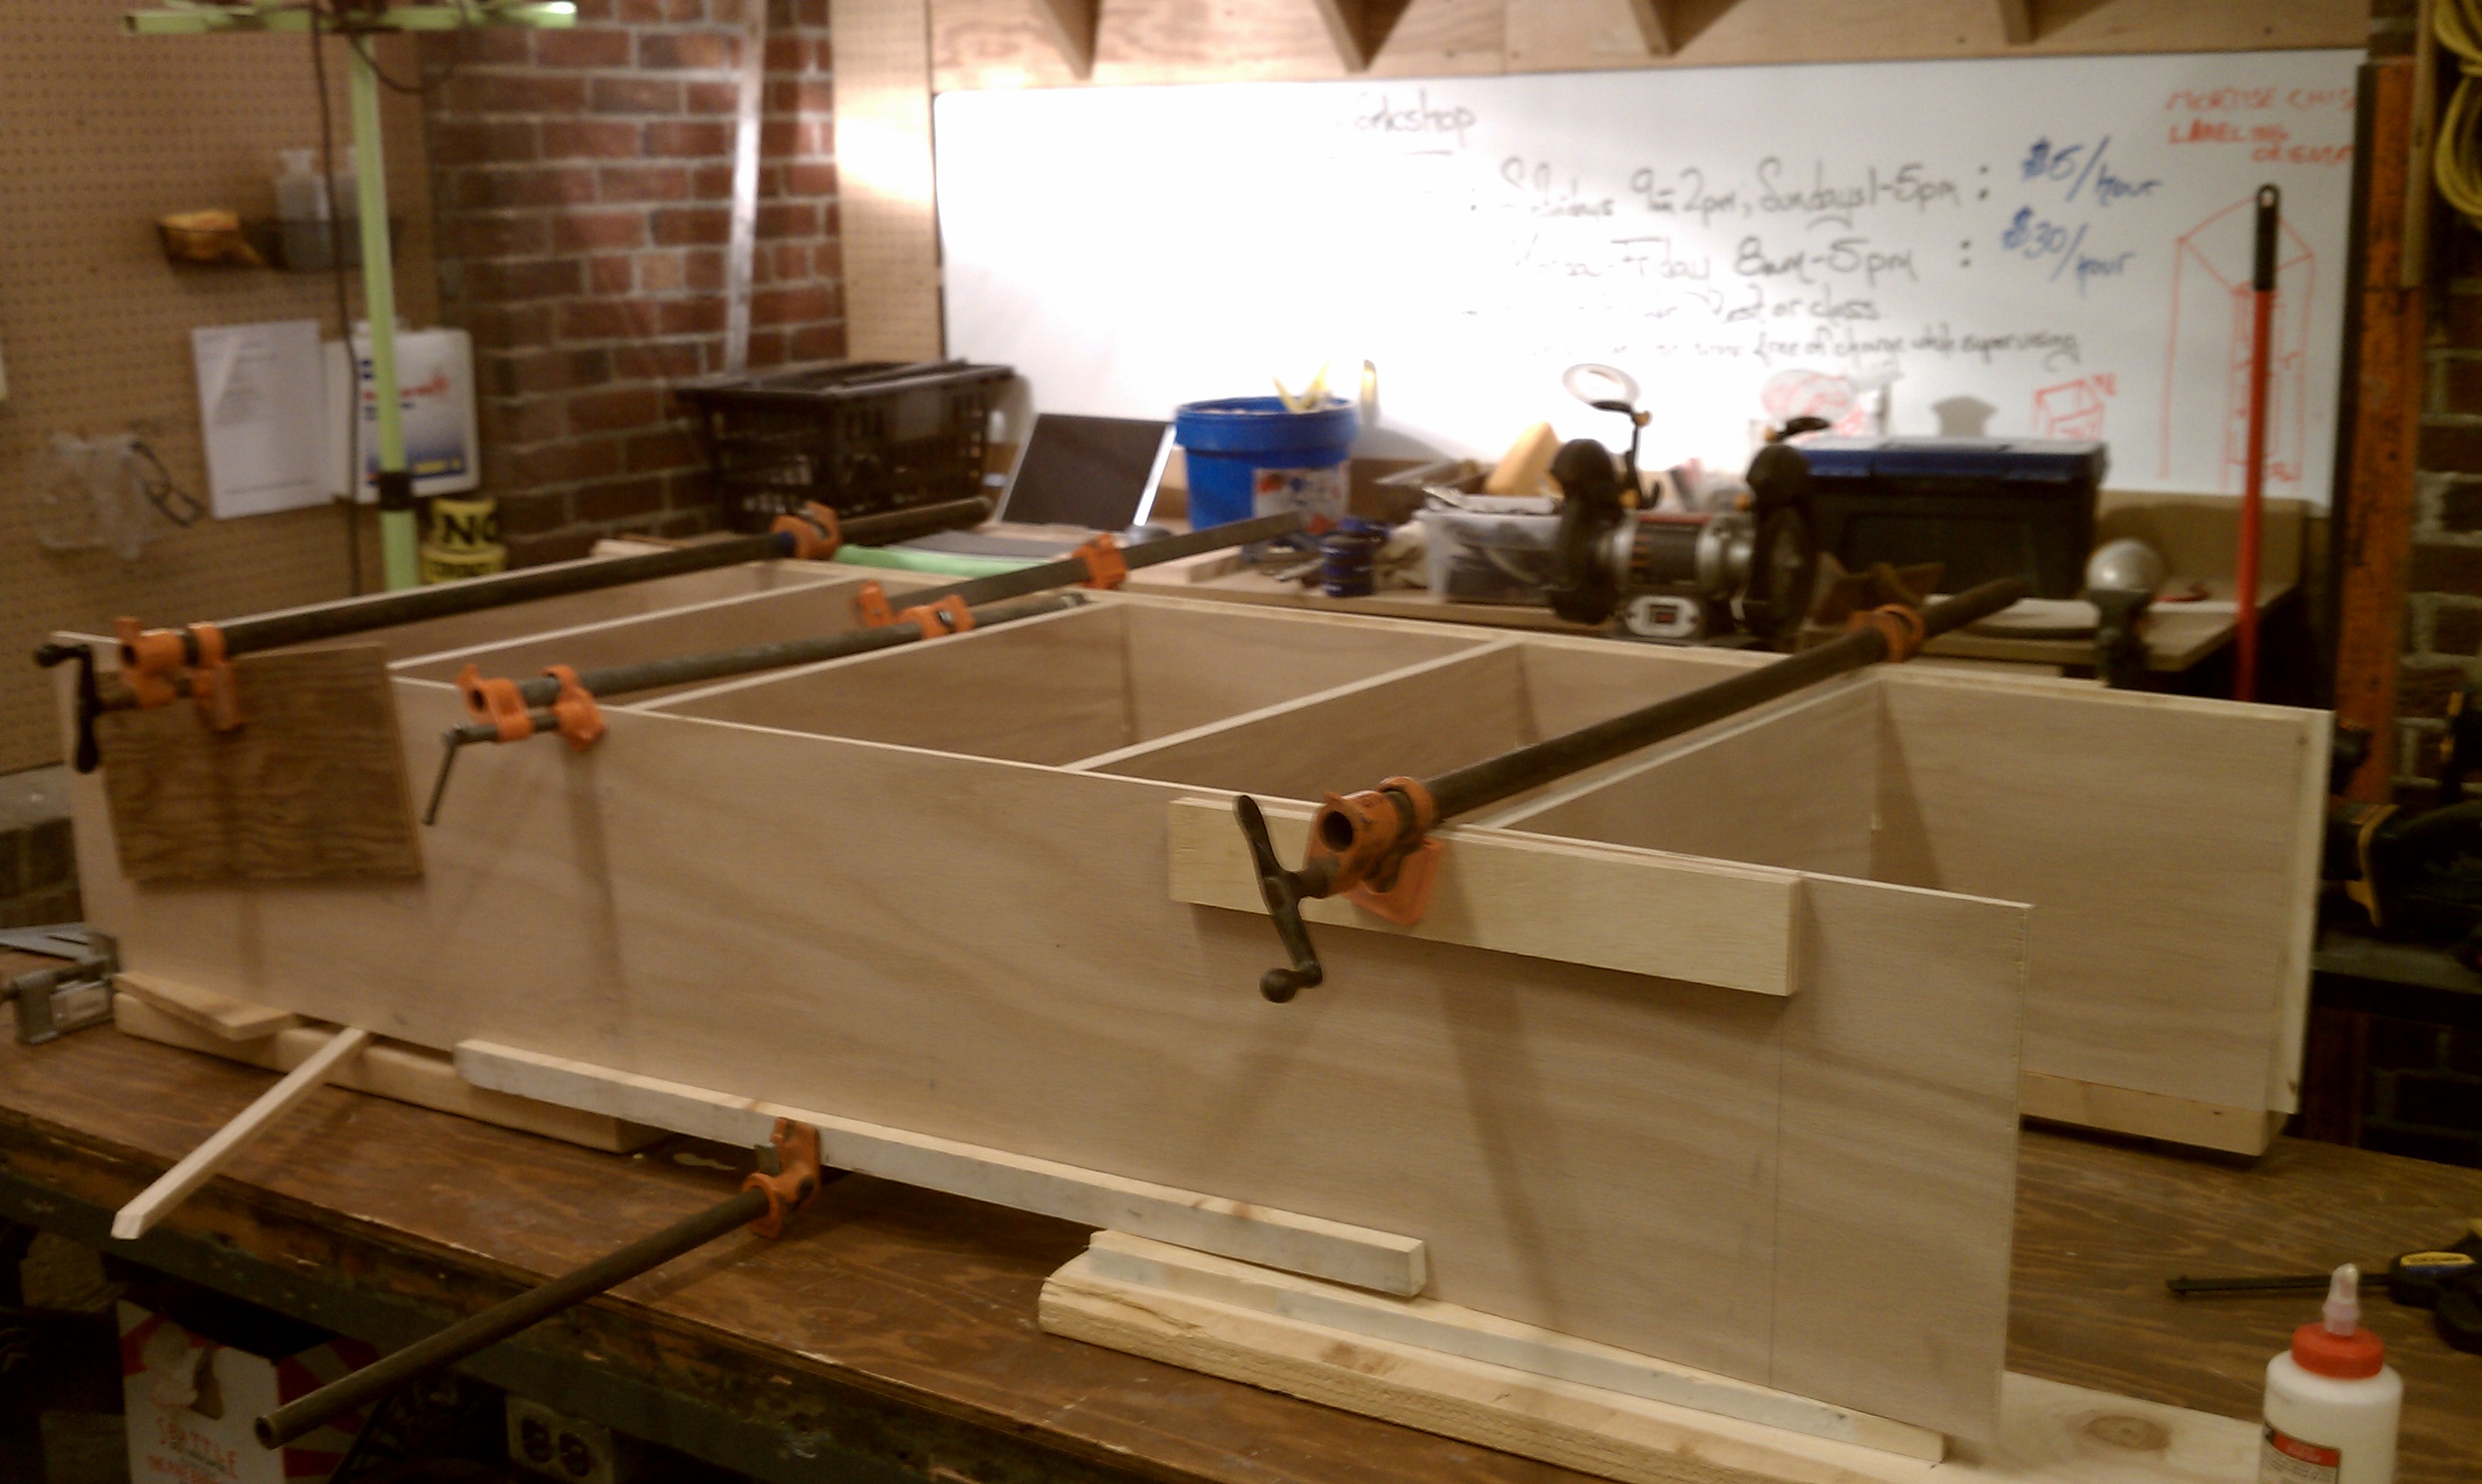
Clamping the bookshelf during gluing
I built the shelf out of red oak picked up from Home Depot. There was a lot of concerned people online warning that the wood purchased from a big box store had thin veneer. This never turned out to be an issue.
Clamping the bookshelf during gluing
The build was slower than I would have liked. There were only four hours available each Saturday and Sunday to work in the Tool Library. At the end of each day I had to take everything down and the next day put everything up again. In addition, there were tools that the Library still didn’t have. I had to purchase a new saw blade specifically meant for cleanly cutting sheets of hardwood. I also had to buy a biscuit joiner.
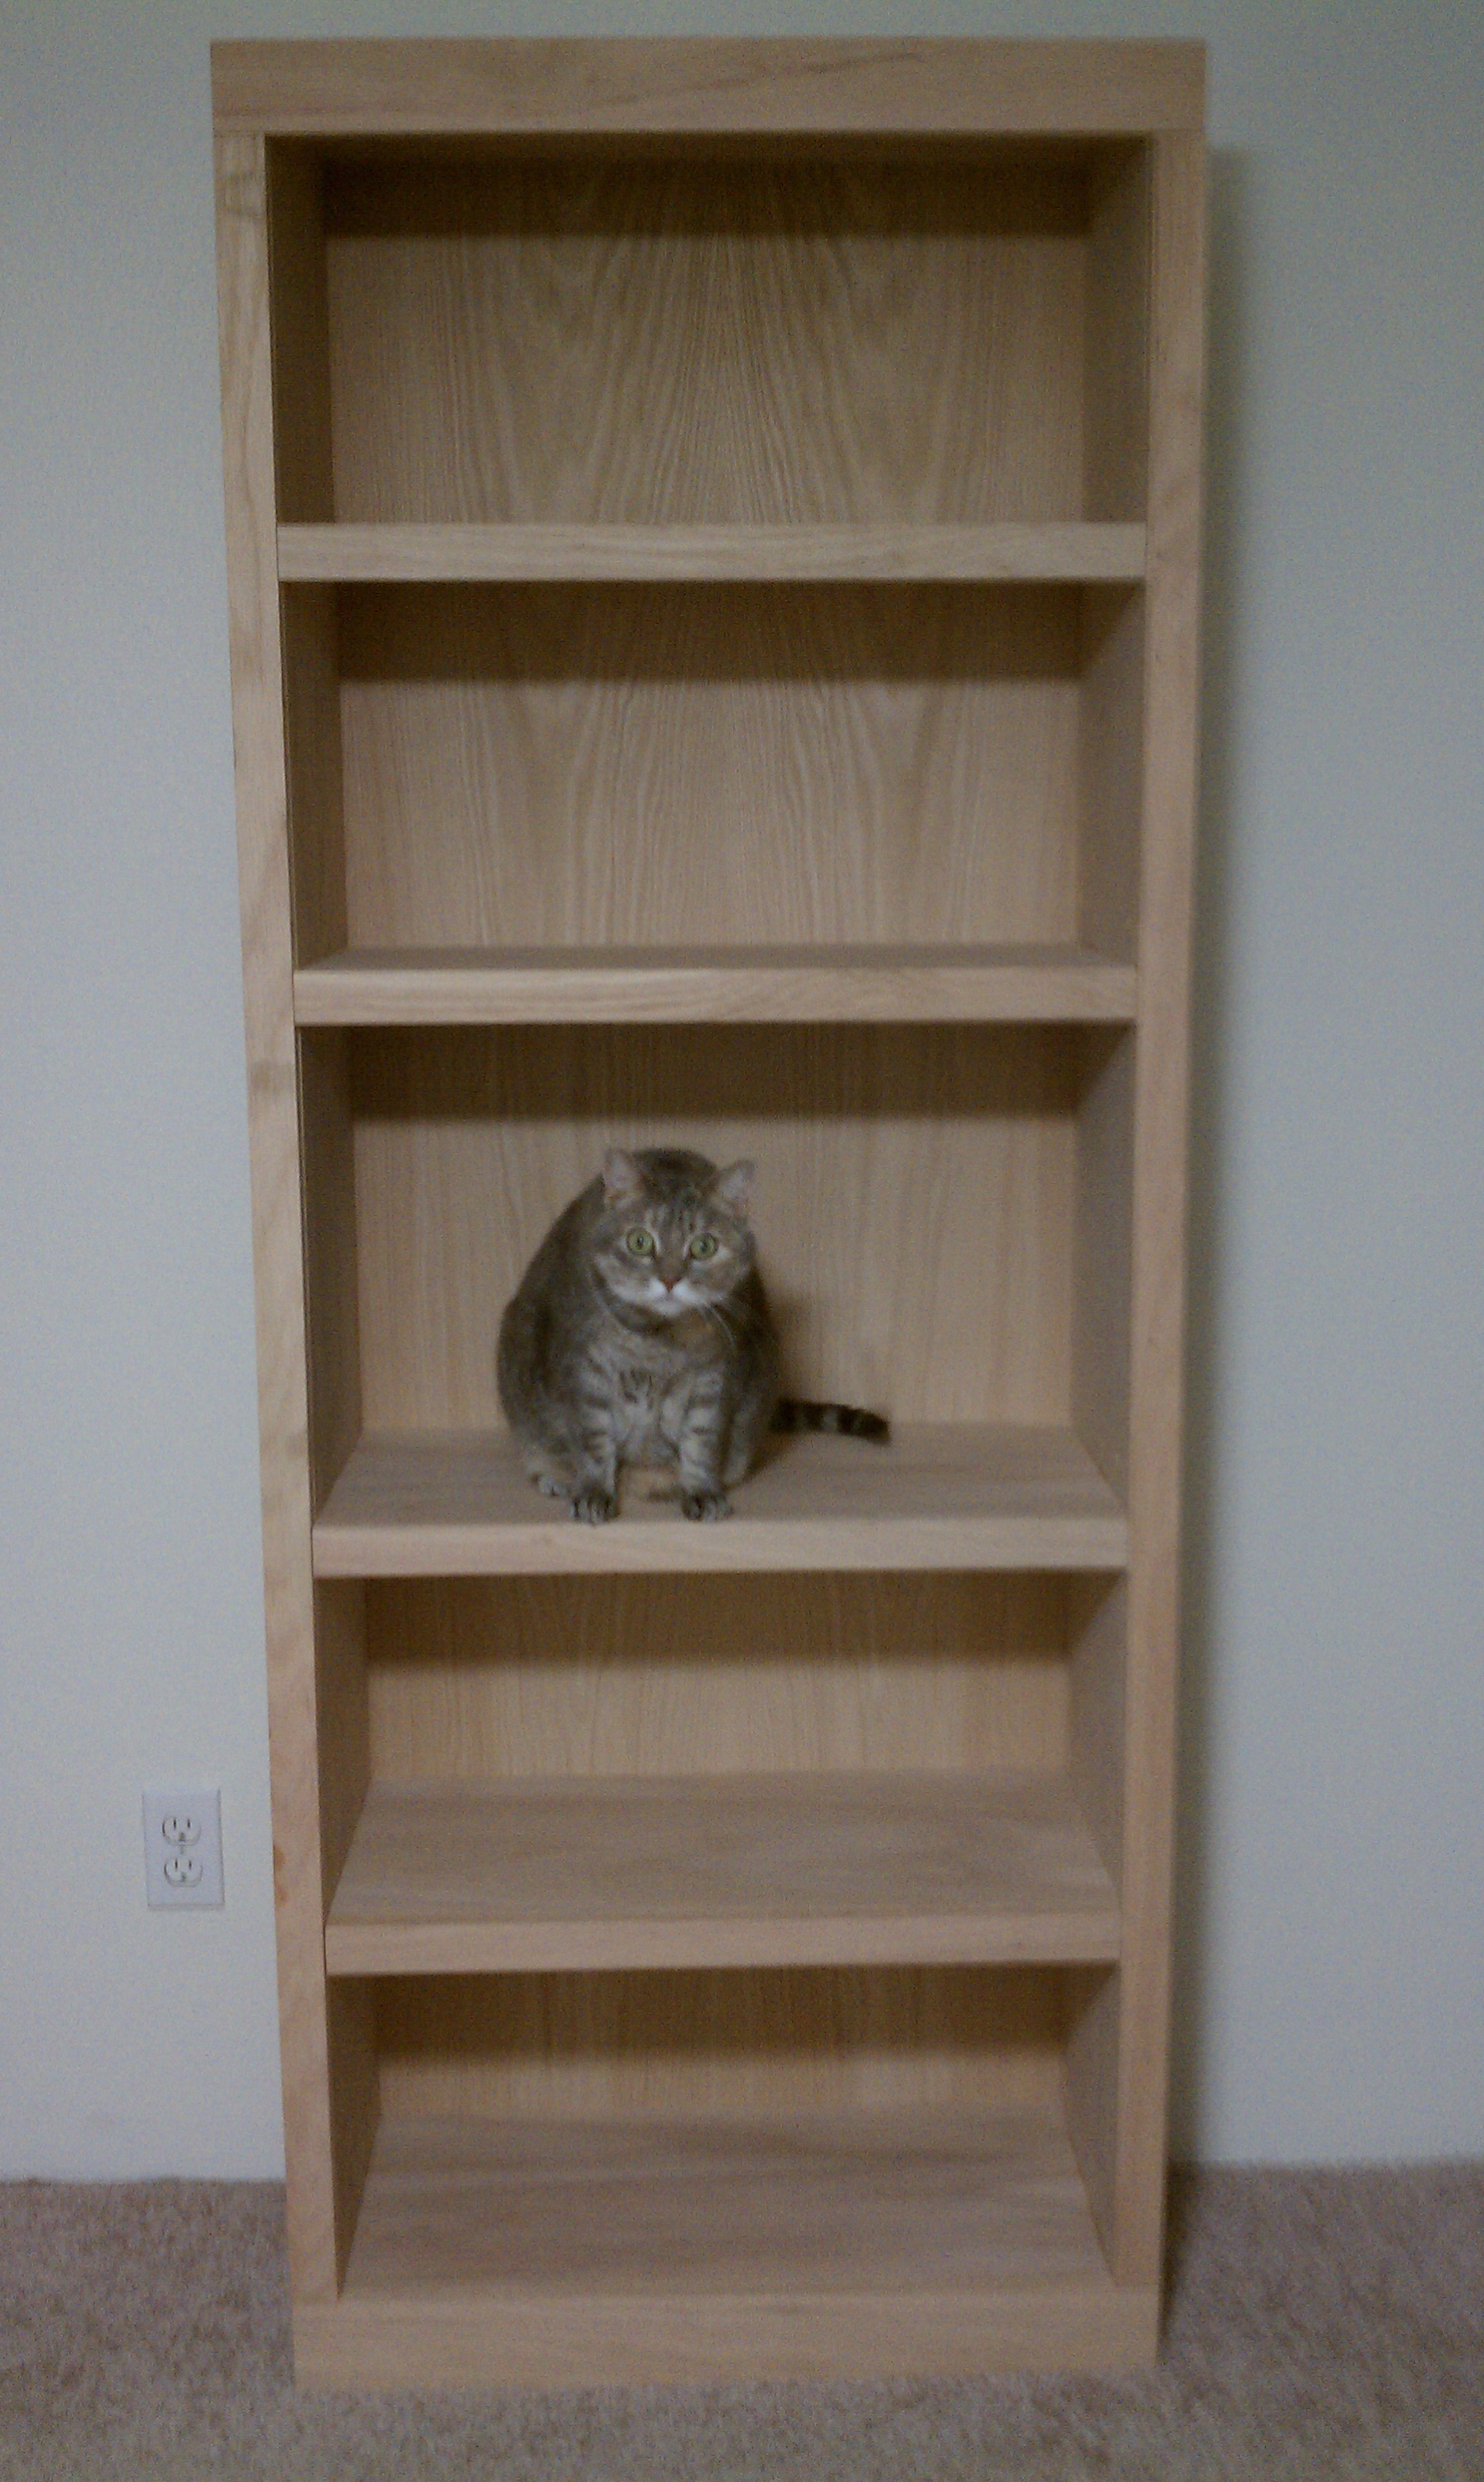
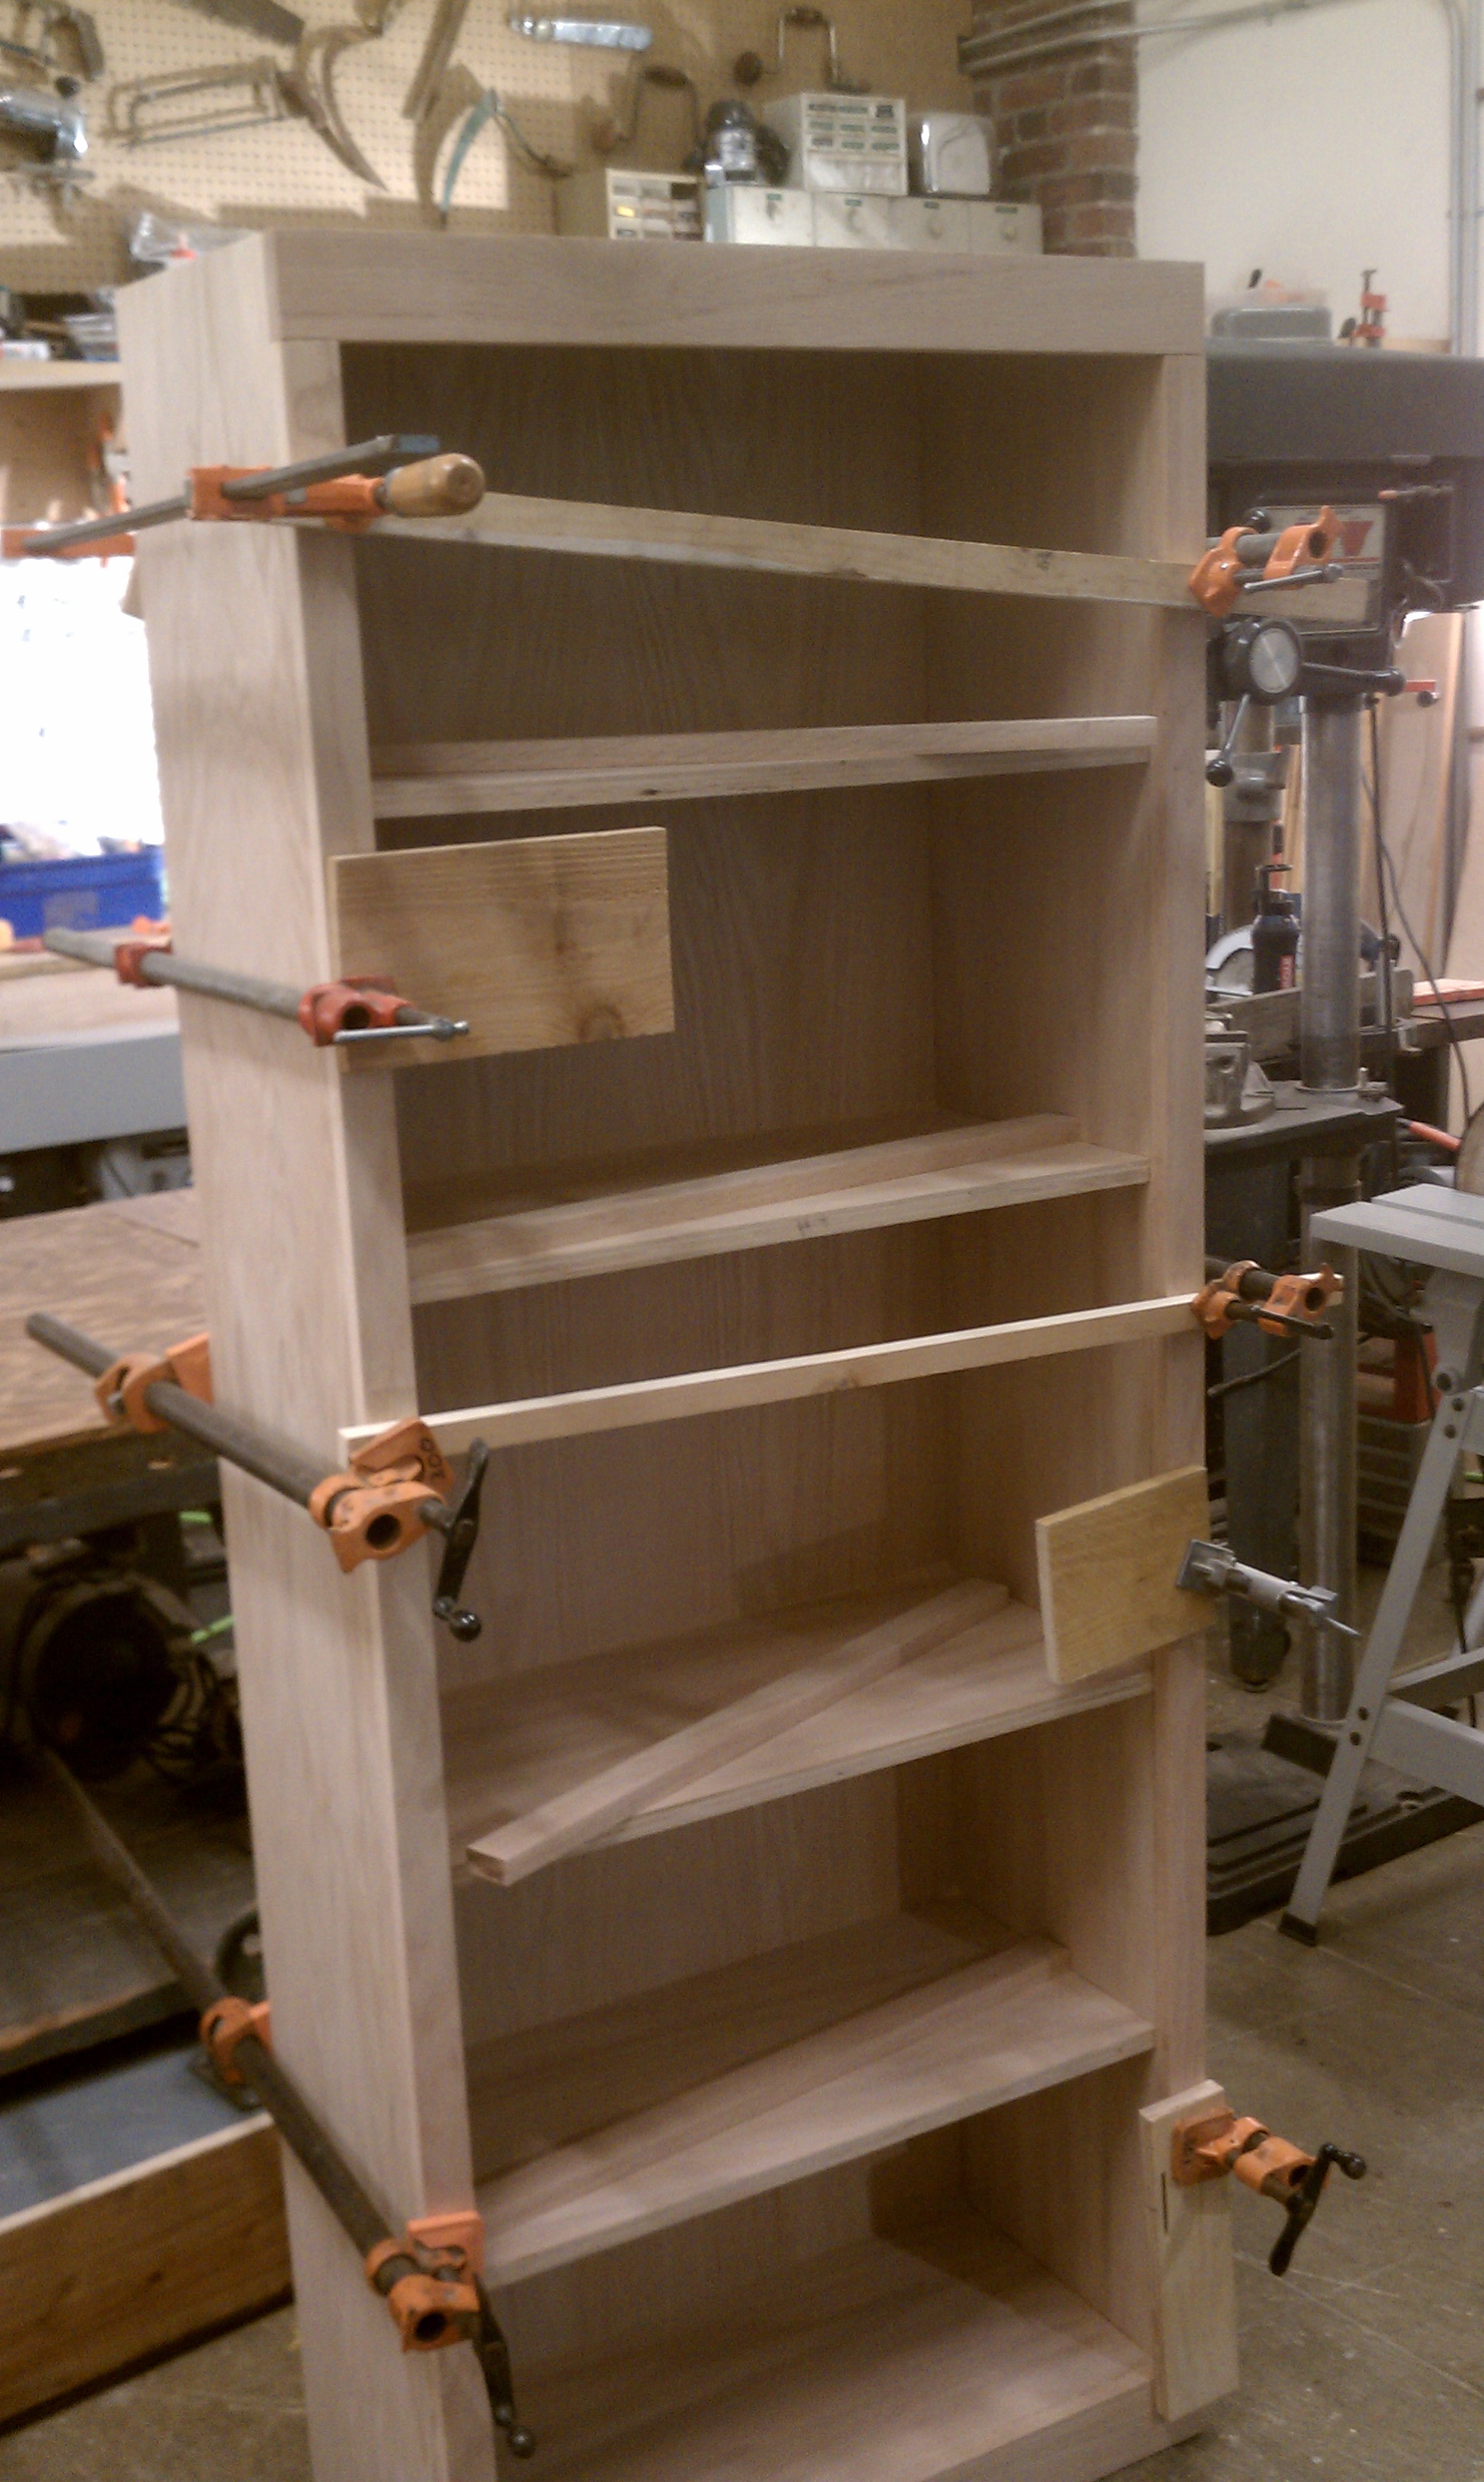
Finished bookshelf with no stain
Each piece was cut according to my cut list and sanded down with progressively finer sandpaper grits. I routed out the dadoes from the side walls and then glued everything together. I used nails on hidden surfaces to add extra strength. I lastly assembled the backer to both enclose and make the assembly more rigid. Glue was liberally applied to every joining surface.
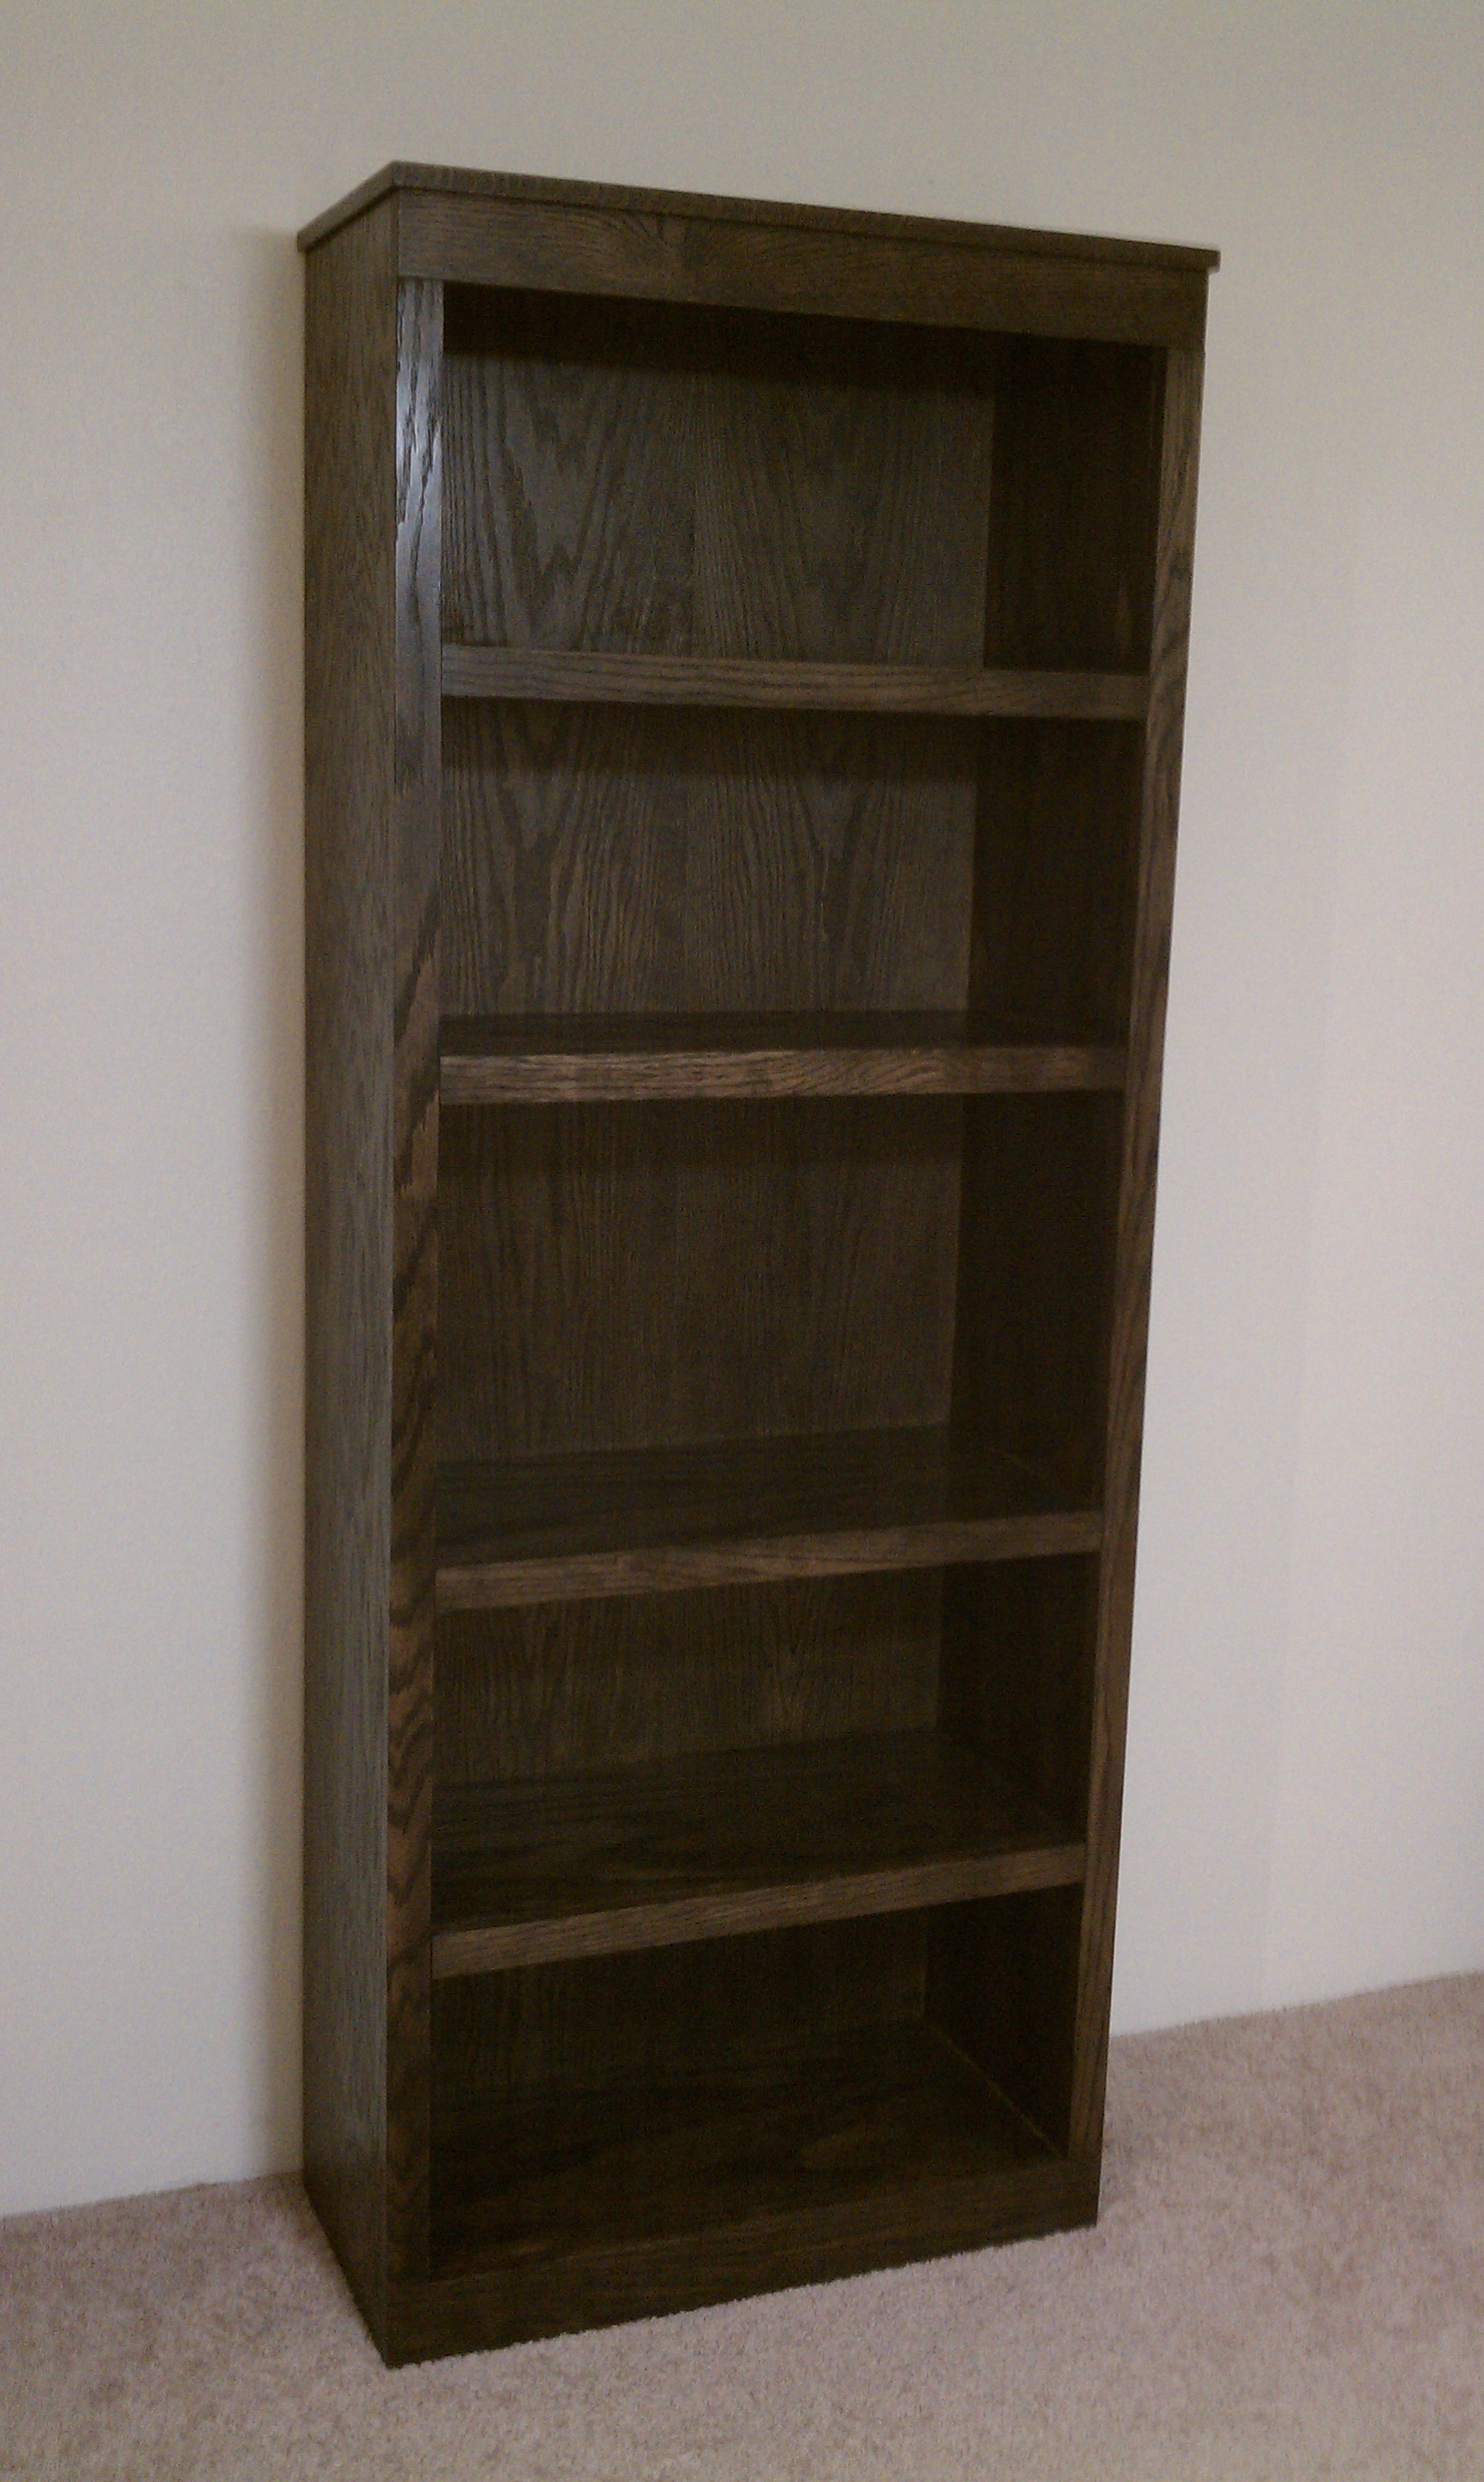
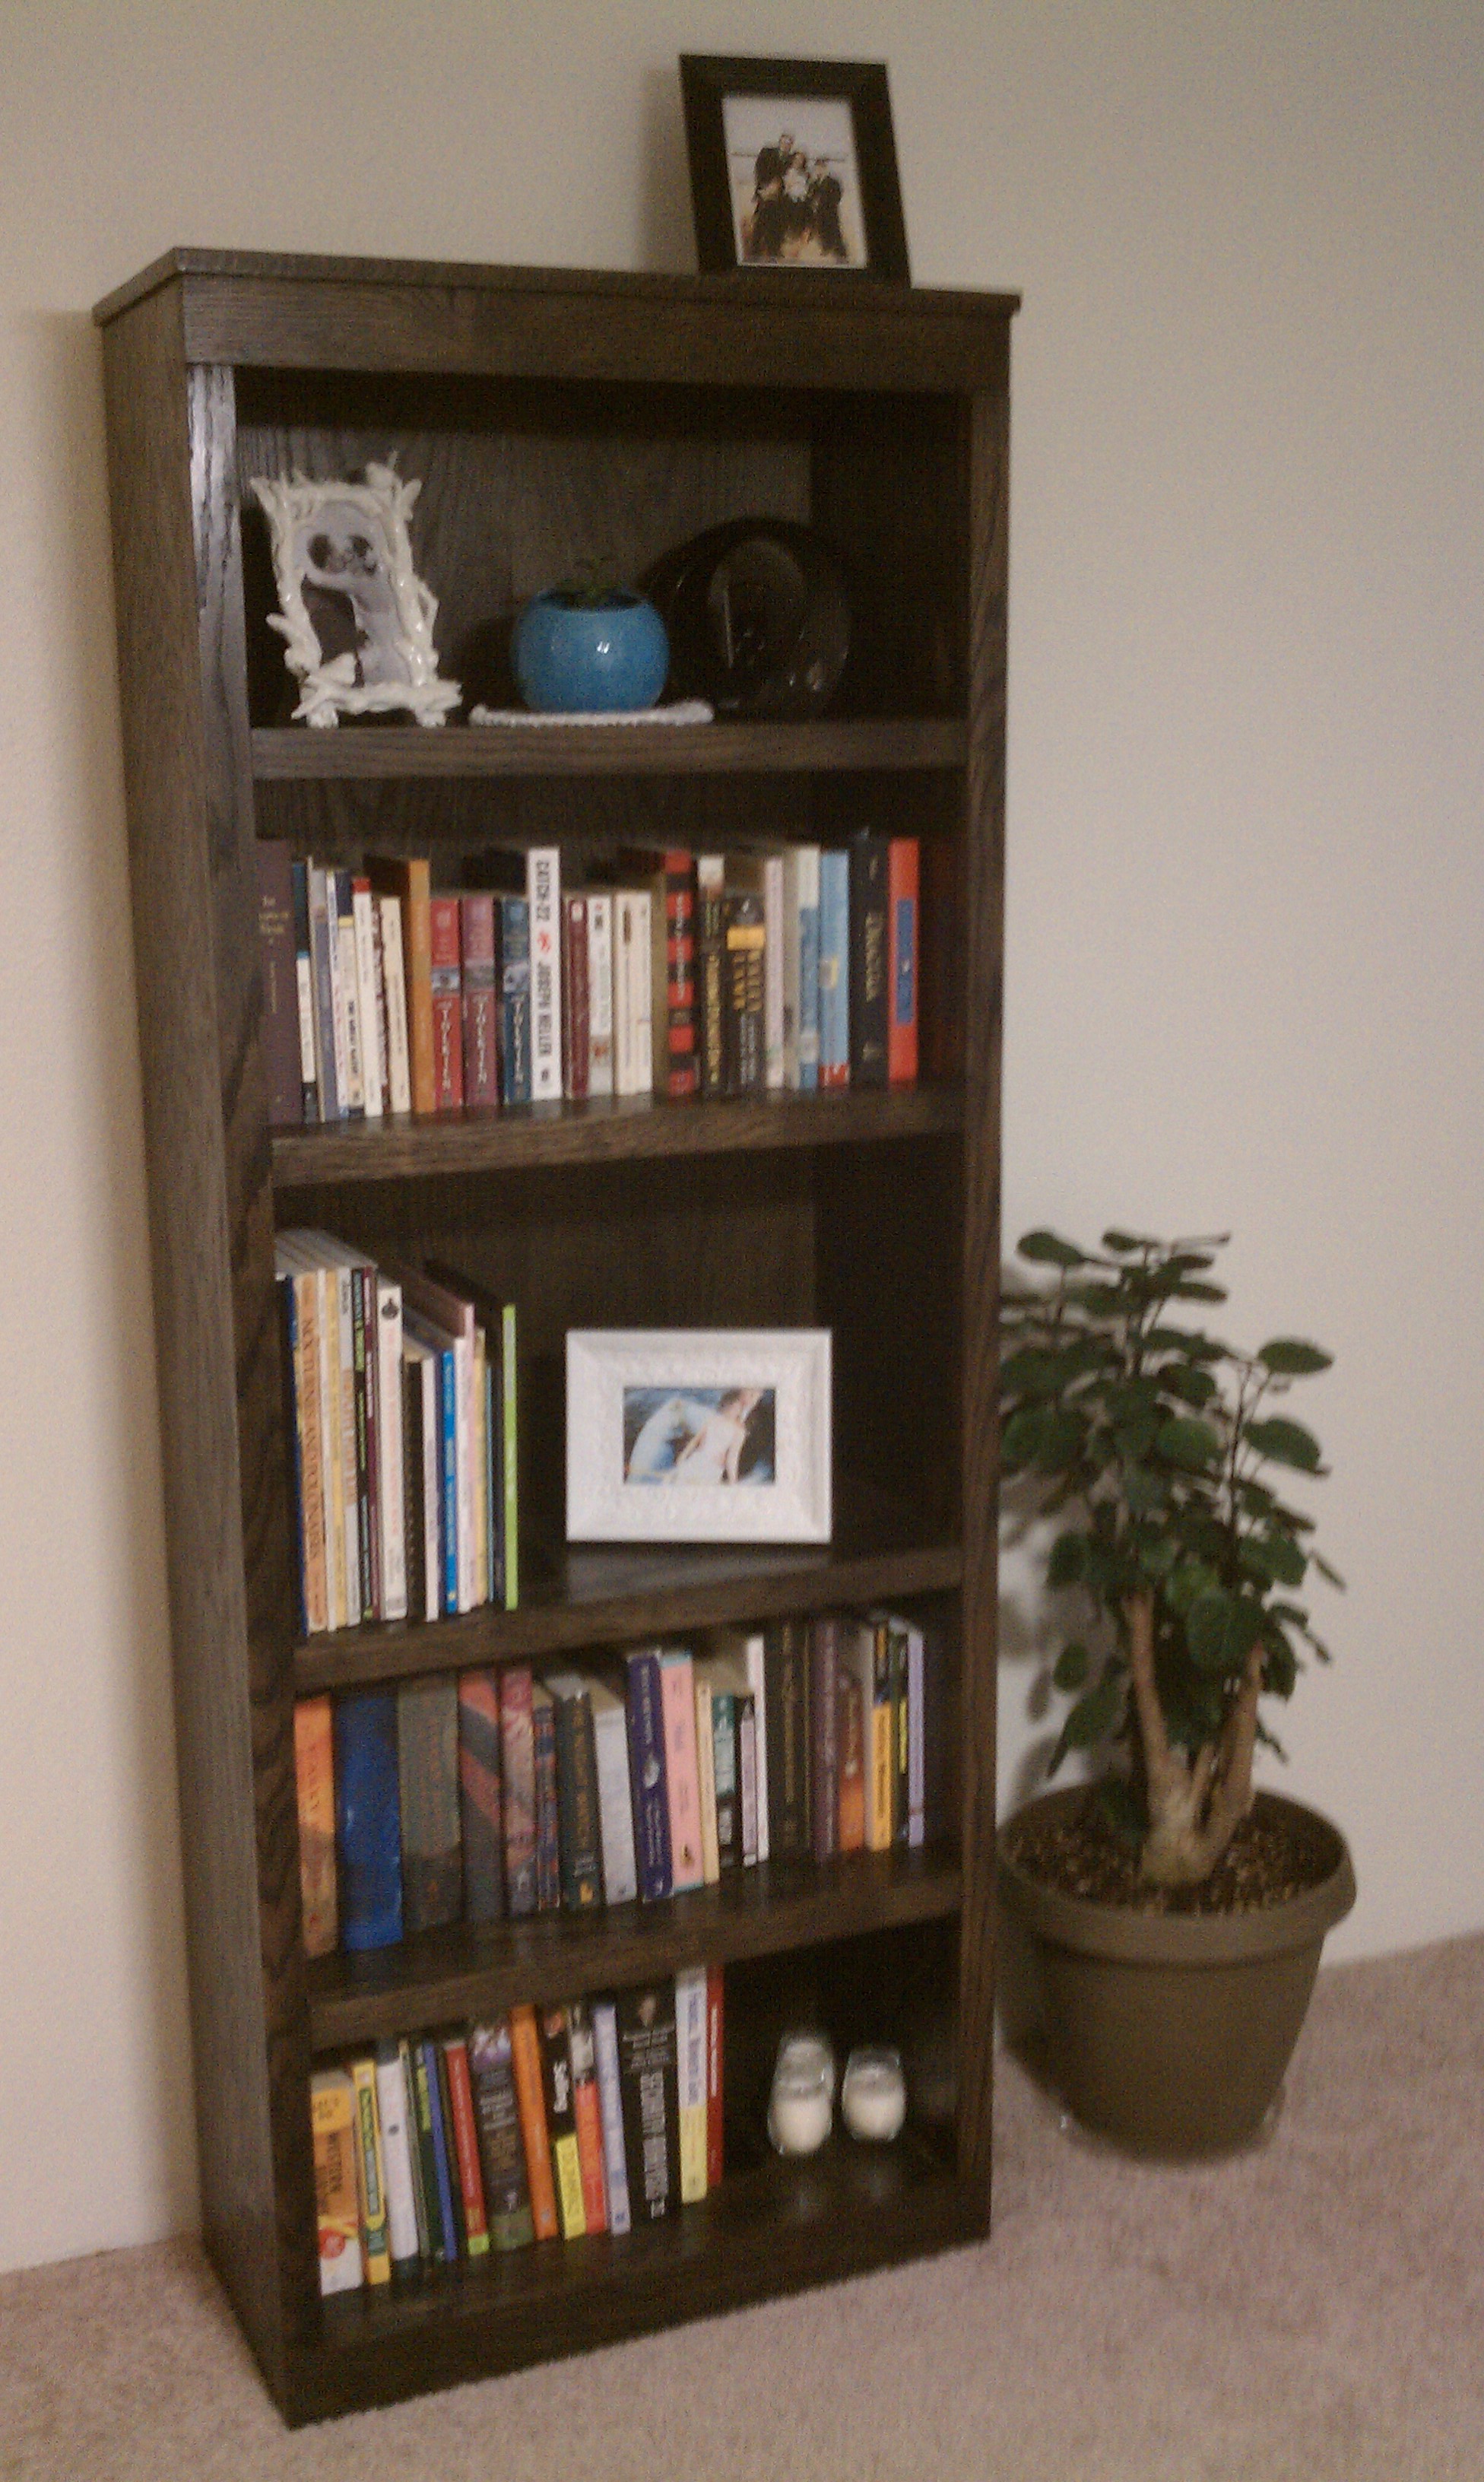
Finished bookshelf with stain
The fully assembled unit looked great, though there were some mismatches where the trim came together and a few spots where I was gratuitous with the hole filler. I got the shelf back to my house and prepared to stain it. I rubbed it down with cheese cloth to remove any remaining dust. Multiple layers of stain were applied each followed by light sanding and a rub down with cheese cloth. After staining, two coats of matte polyurethane were applied.
Once the fumes faded from our apartment complex, the shelf was done and filled with books!

Finished bookshelf