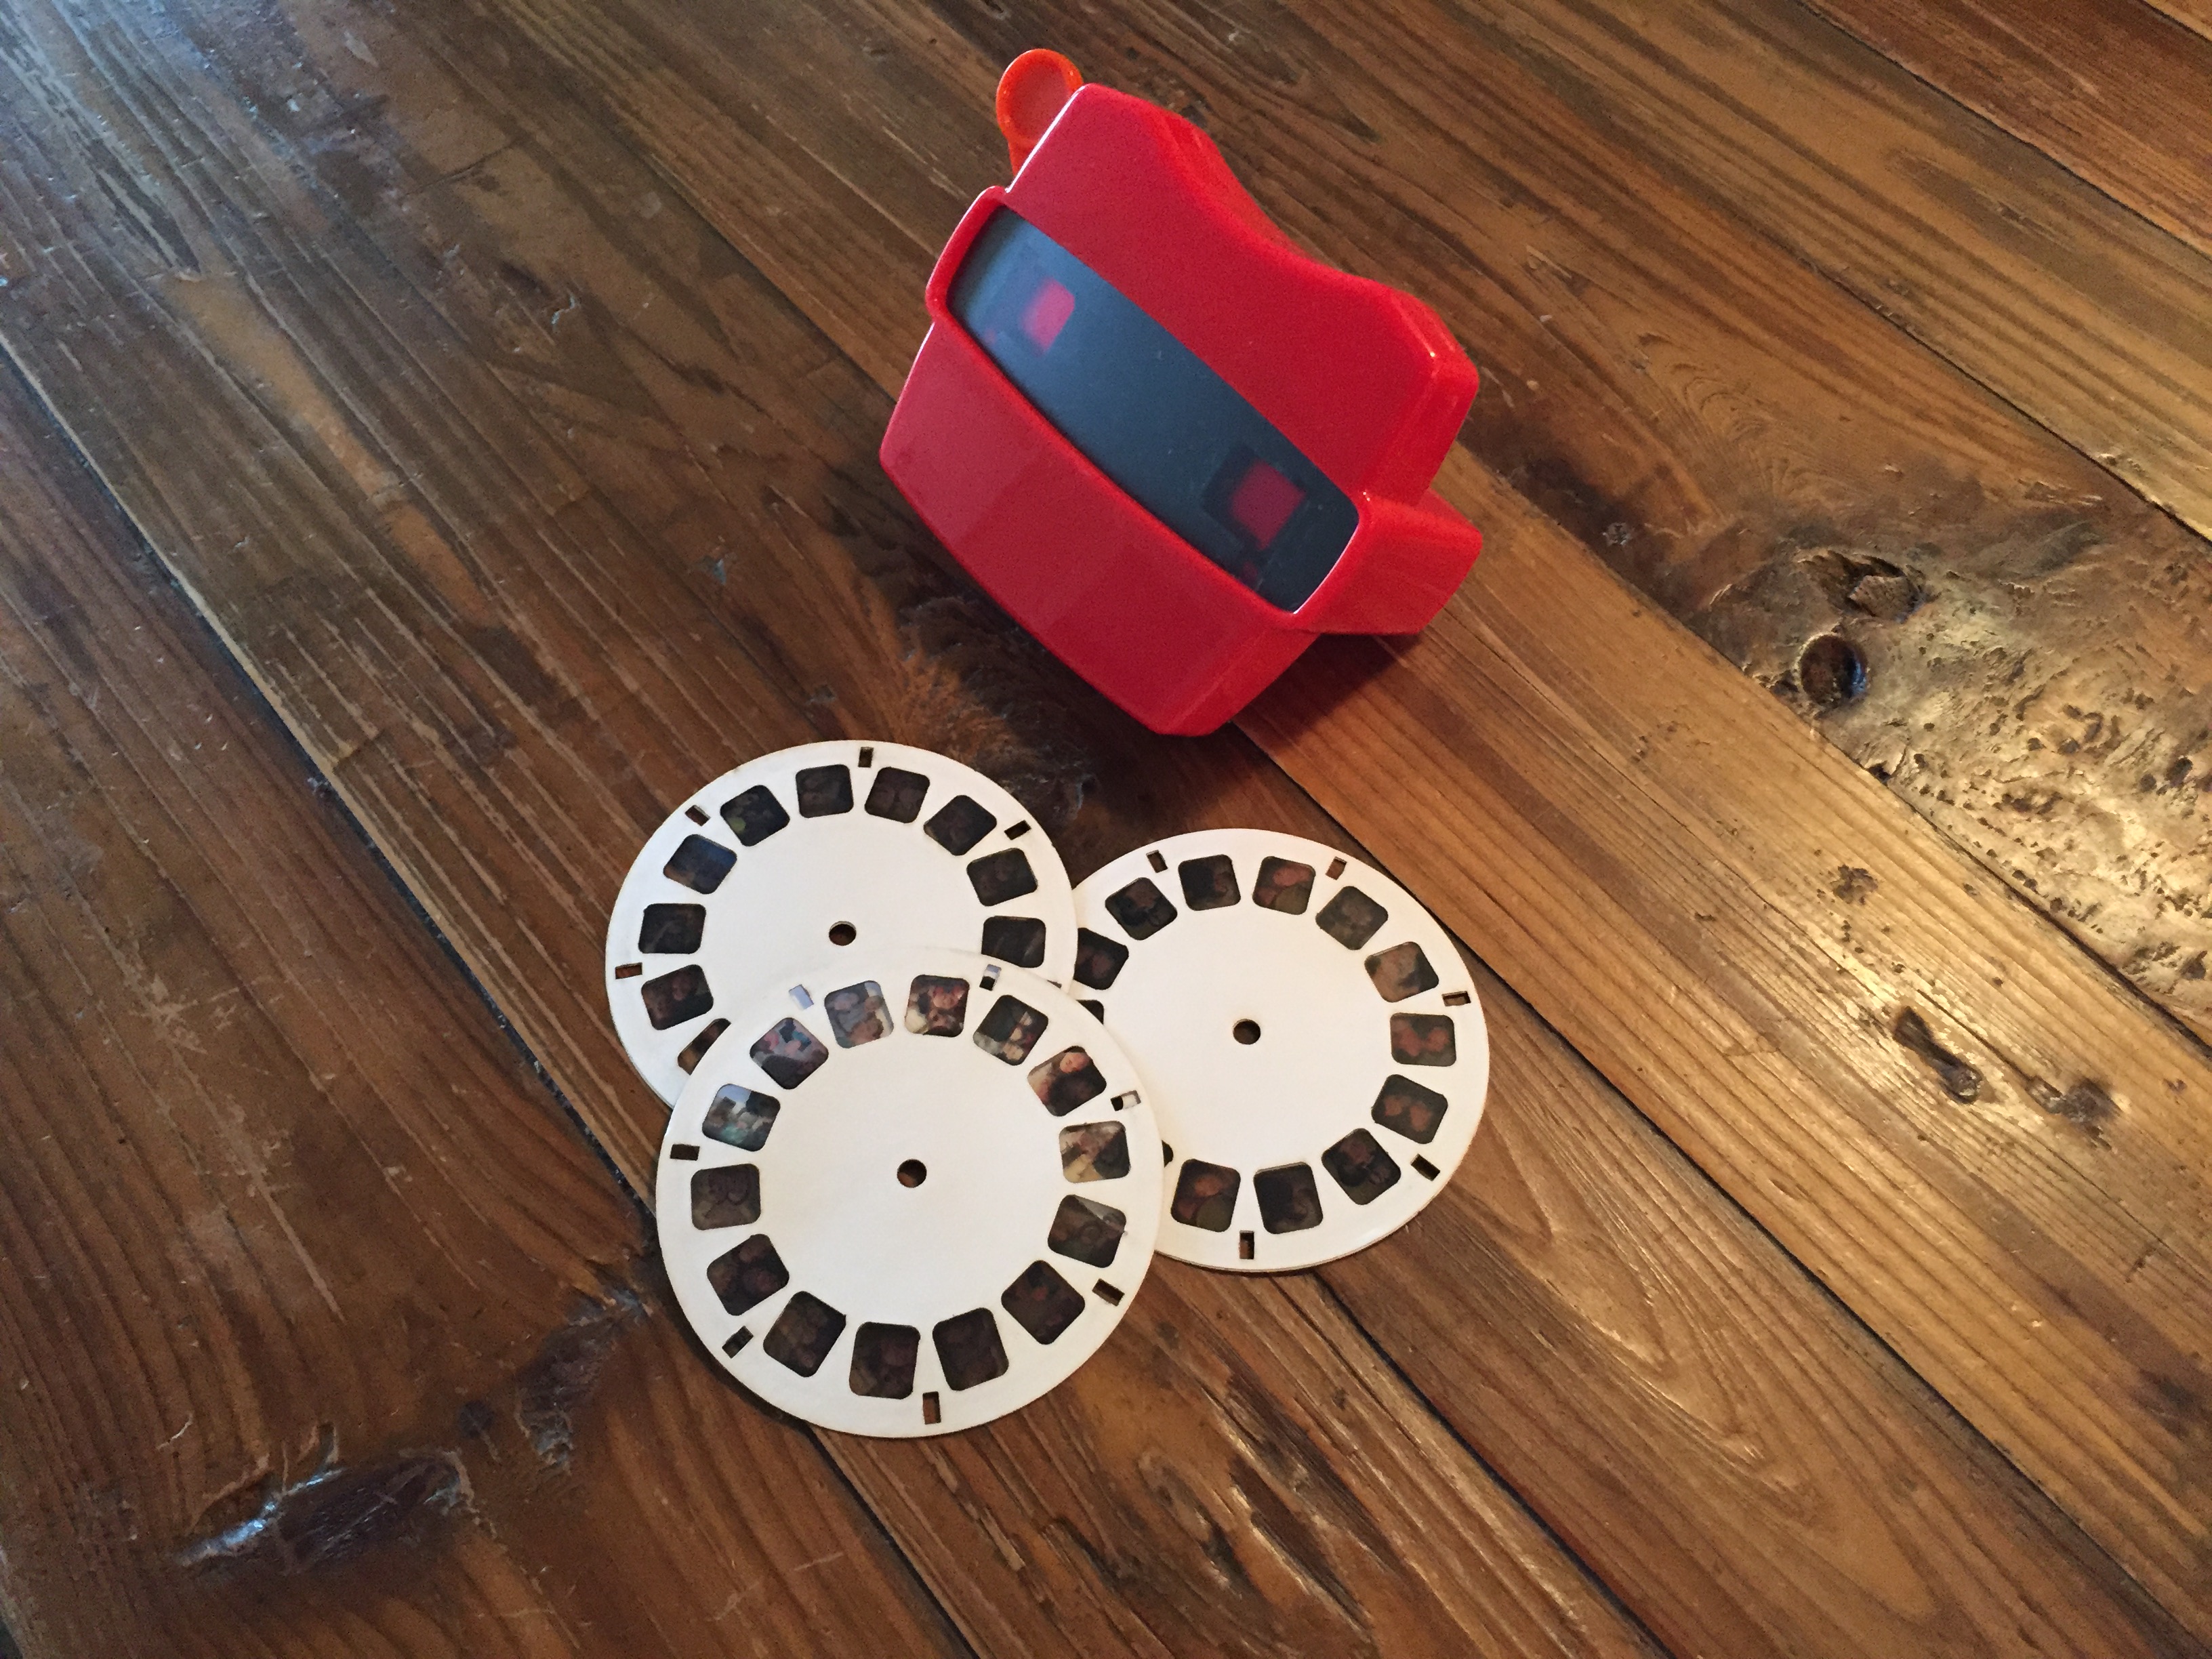
My wedding anniversary was coming up and I wanted to make my wife something special. I saw a great post on Reddit where someone had an old school View-Master toy and they had made custom reels filled with personal photos. It ticked all the boxes for me: retro toy inducted into the National Toy Hall of Fame, get to use fun tools to make it, ability to make it highly personalized. I instantly fell in love with the idea and started work on my own version.
 A View-Master is a stereoscope and is used for viewing a single image as a 3D scene. Each eye is presented the same image while the lens in the stereoscope makes them seem larger and more distant. The lens also changes the apparent horizontal position of each image so they appear to combine into one.
 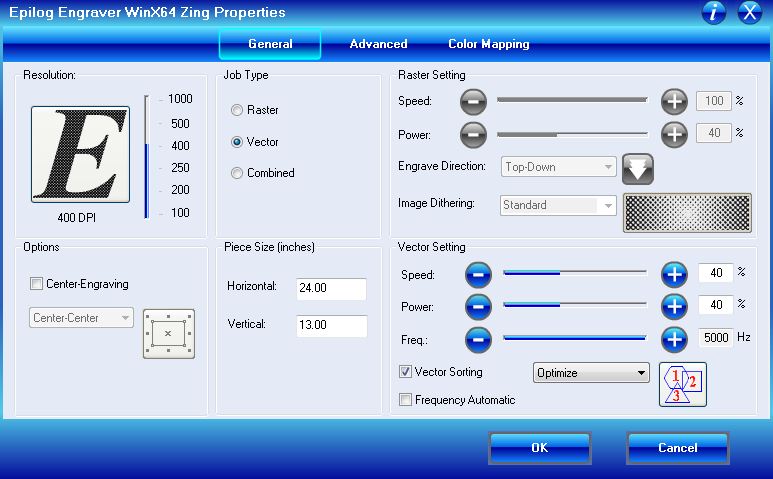 I was surprised to learn that the company that makes the View-Master is still around today. They still sell the classic View-Master but have branched into phone-based VR viewers based on Google Cardboard.
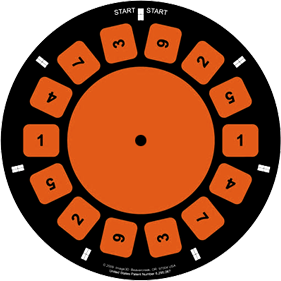
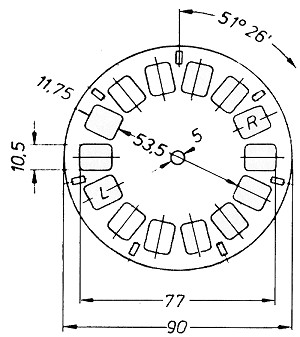
I found the View-Master I wanted on Amazon and placed the order. It came with three reels so I would have a baseline for my custom ones. While I waited, I downloaded a slide numbering guide and some default dimensions. I modeled the reel in Solidworks and prepared to laser cut the reel frames. I used a Zing 24 laser to cut out the reels from white card stock. The laser singed the material a little so the default settings had to be adjusted to minimize the effect.
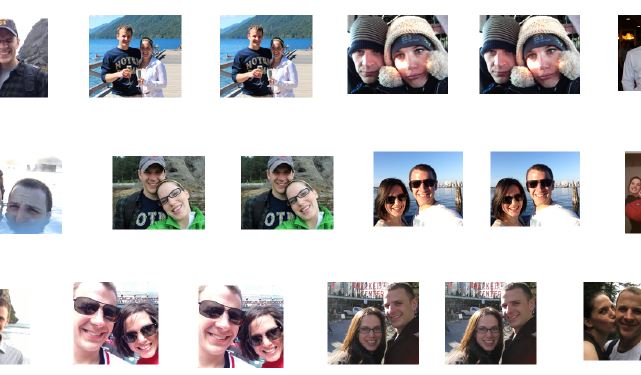 I selected fun photos from my personal photo album and used Photoshop to shrink and manage the overall layout. Once complete, I printed the images on inkjet printer transparency paper using a standard color printer. The printer could only manage 300dpi so I figured I might have some pixelation issues visible in the prints.
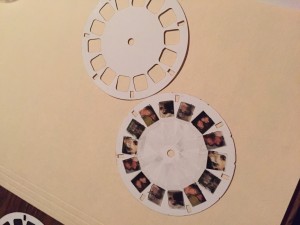 Once printed, I cut the photos out and taped them into the reels following the pattern in the slide reel numbering guide. I then attached the backside of the reel with Elmer’s glue, pressed the stackup between two books, and let it dry overnight.
The end result got a fantastic reaction from my wife and was a joy to look at in the View-Master. The images did turn out a bit pixelated but it didn’t detract from the novelty of the experience.
I thought about several ways to improve the project if I ever do something similar.
- Use a cutter plotter to cut out the reels. This will prevent the singing issues I encountered
- Use a stiffer or thicker card stock. The material I used was a bit floppy and can get damaged upon insertion into the viewer.
- Print the transparent layer on one sheet
- Avoid using the inkjet transparency paper as it has a kind of foggy appearance
- Print the images using a resolution higher than 300 dpi. This may require a specialized printer.
- Make a fancy label for the outside of the reel