Christmas was approaching and I needed a gift for my son. I was looking for something simple but with a lot of meaning. Wood blocks were a good bet. They required planning, allowed for design creativity, can be played with, and can be a keepsake in the future.
 I picked up a pack of 1.5″ unfinished wooden blocks from Amazon (link). I sanded them with 250 grit and then 600 grit sandpaper. I then knocked off the sharp edges so they’d be safe for children to handle.
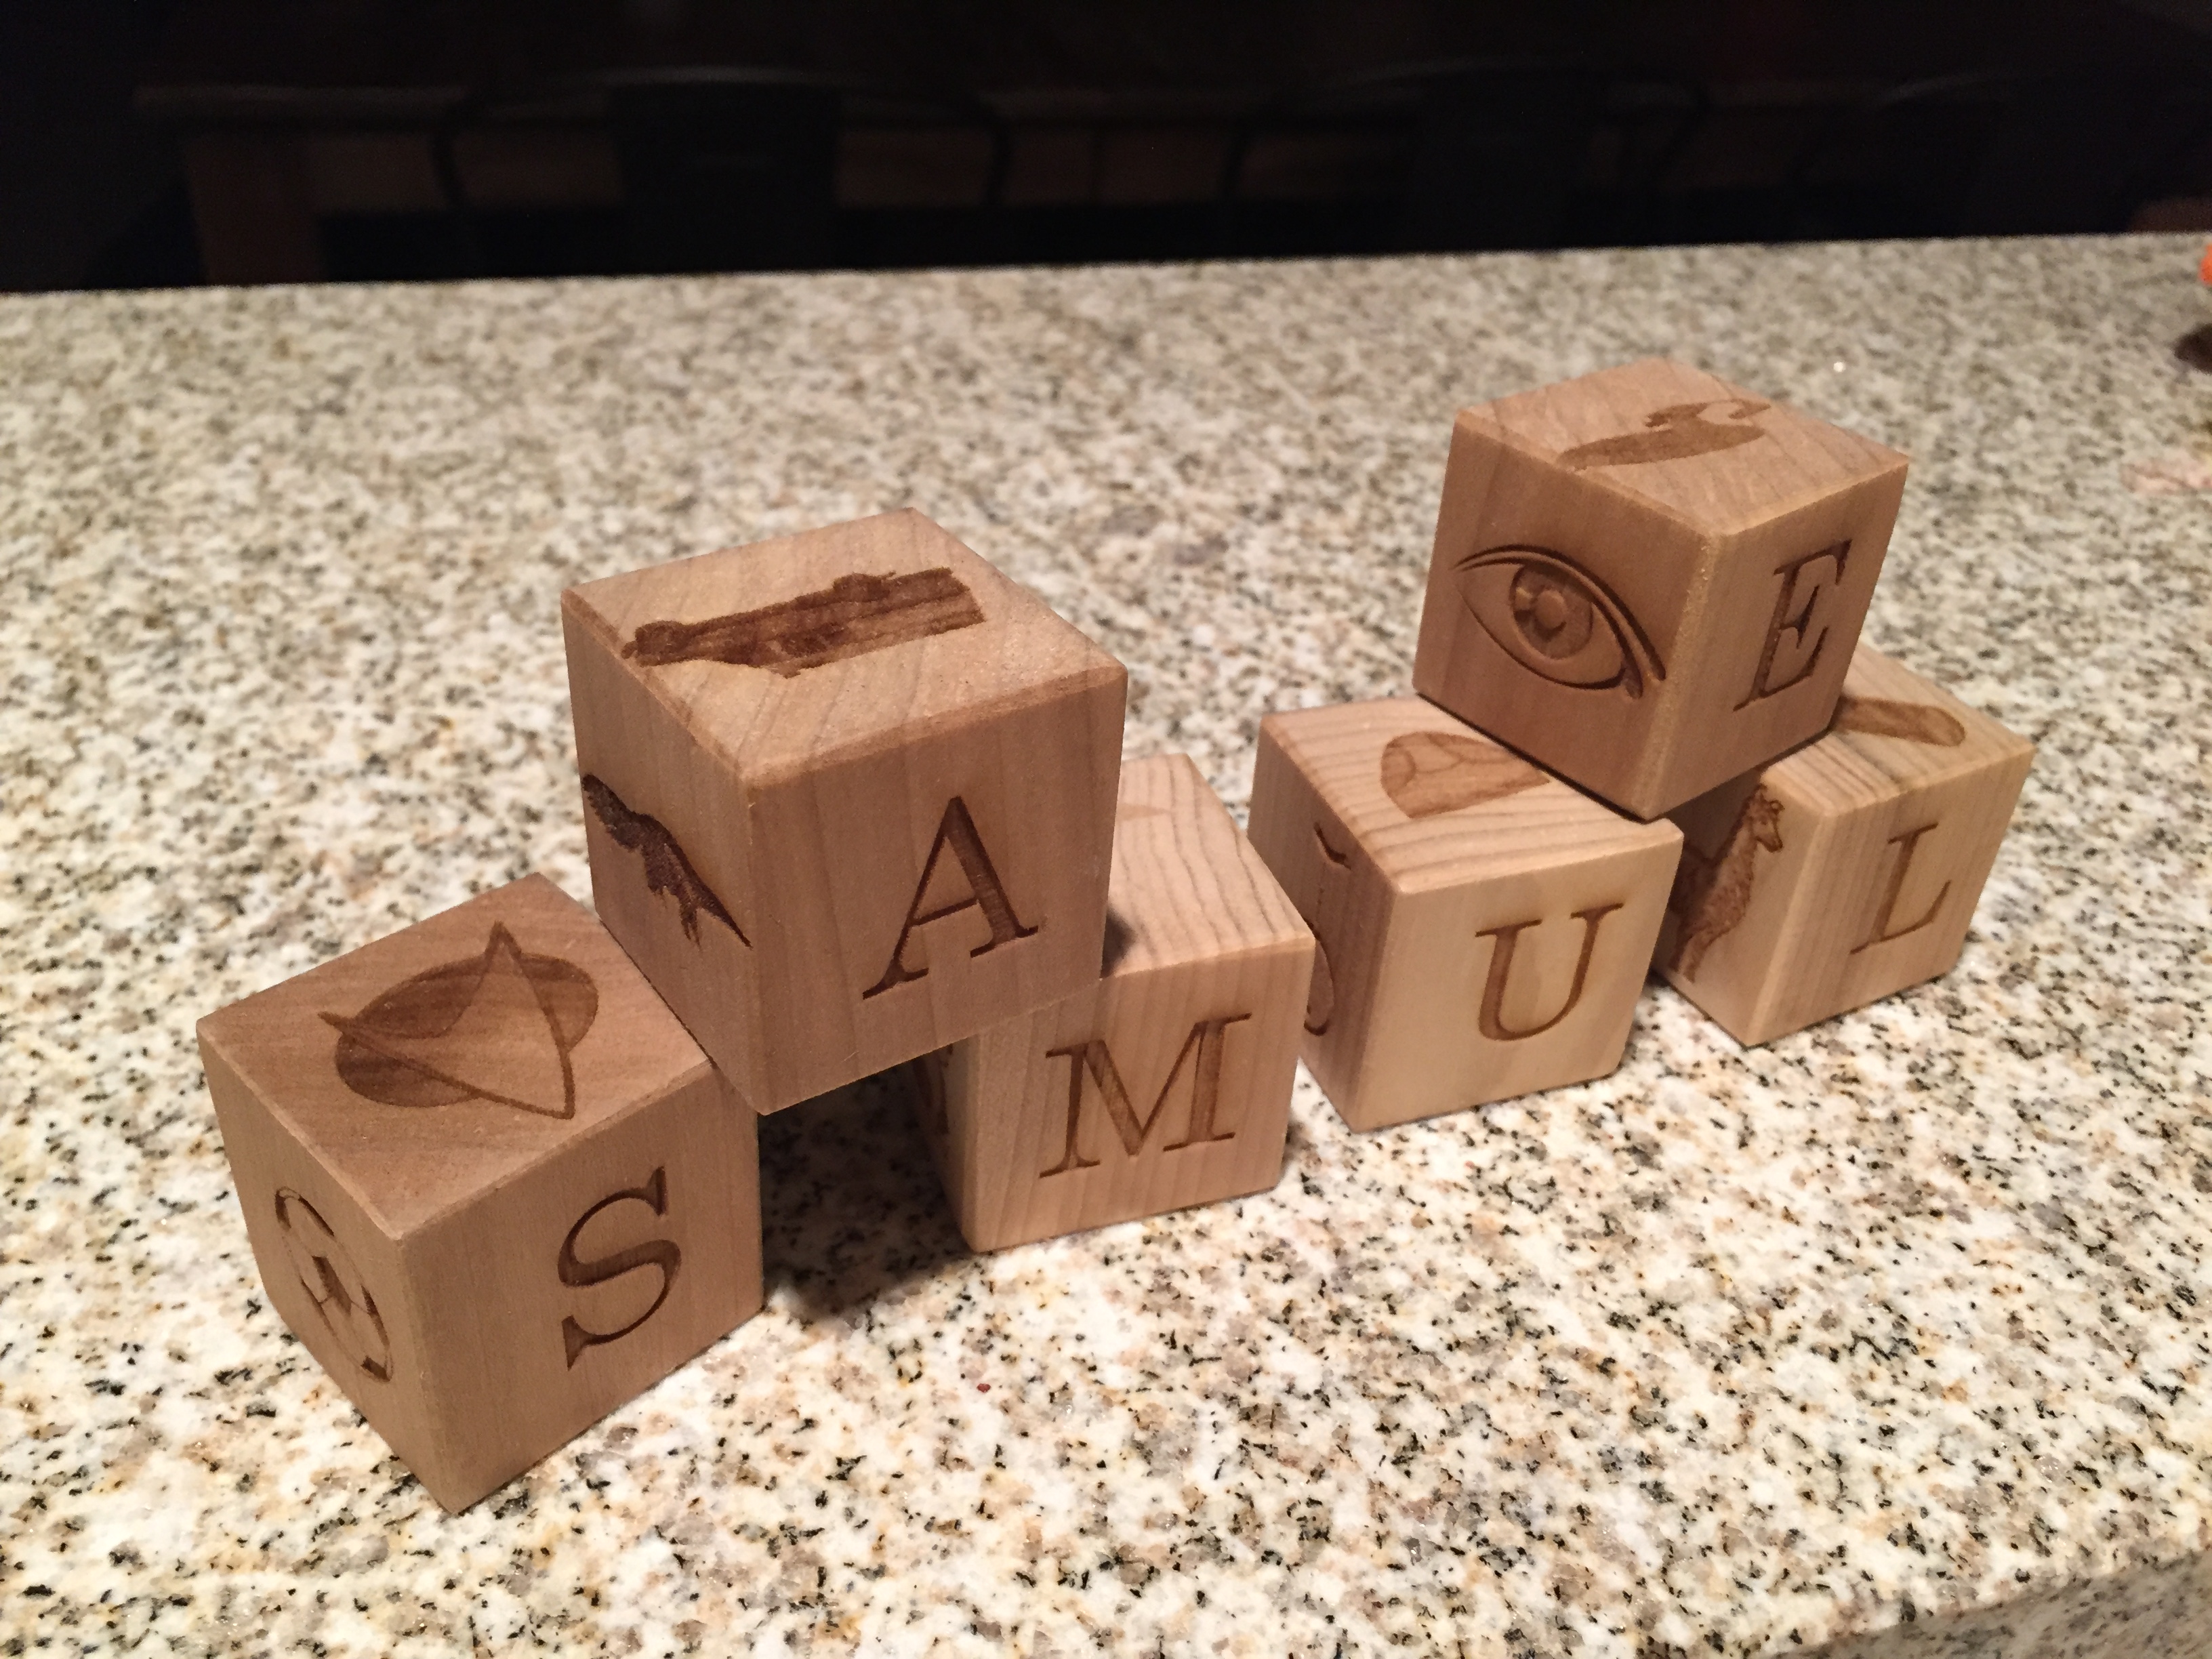
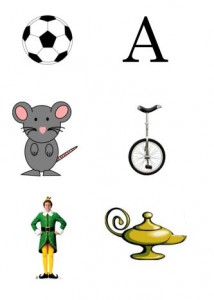
The block strategy I used was to have one block for each of the letters in my son’s name. One side of the block would have the letter and the remaining sides would have objects starting with the same letter. Example: “E” – “Enterprise” – “Eye” – “Elf” – “Eagle” – “Elephant”. I used Google images to find pictures. They were going to be laser etched so the images had to meet certain criteria. It was best if the image was standalone with a white background. Any color also needed to have a certain amount of darkness or it wouldn’t cut well.
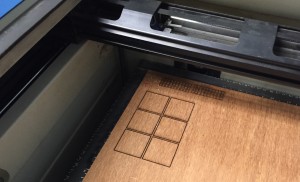 I laid out my images in 2×3 grids in Photoshop so that I could etch six at a time. I also created a grid patterned fixture to be placed on the laser bed so the blocks could be repeatably placed.
I used an Epilog Zing 24 to do the etching. After a little trial and error I found the optimal speed and power settings and started etching the blocks.
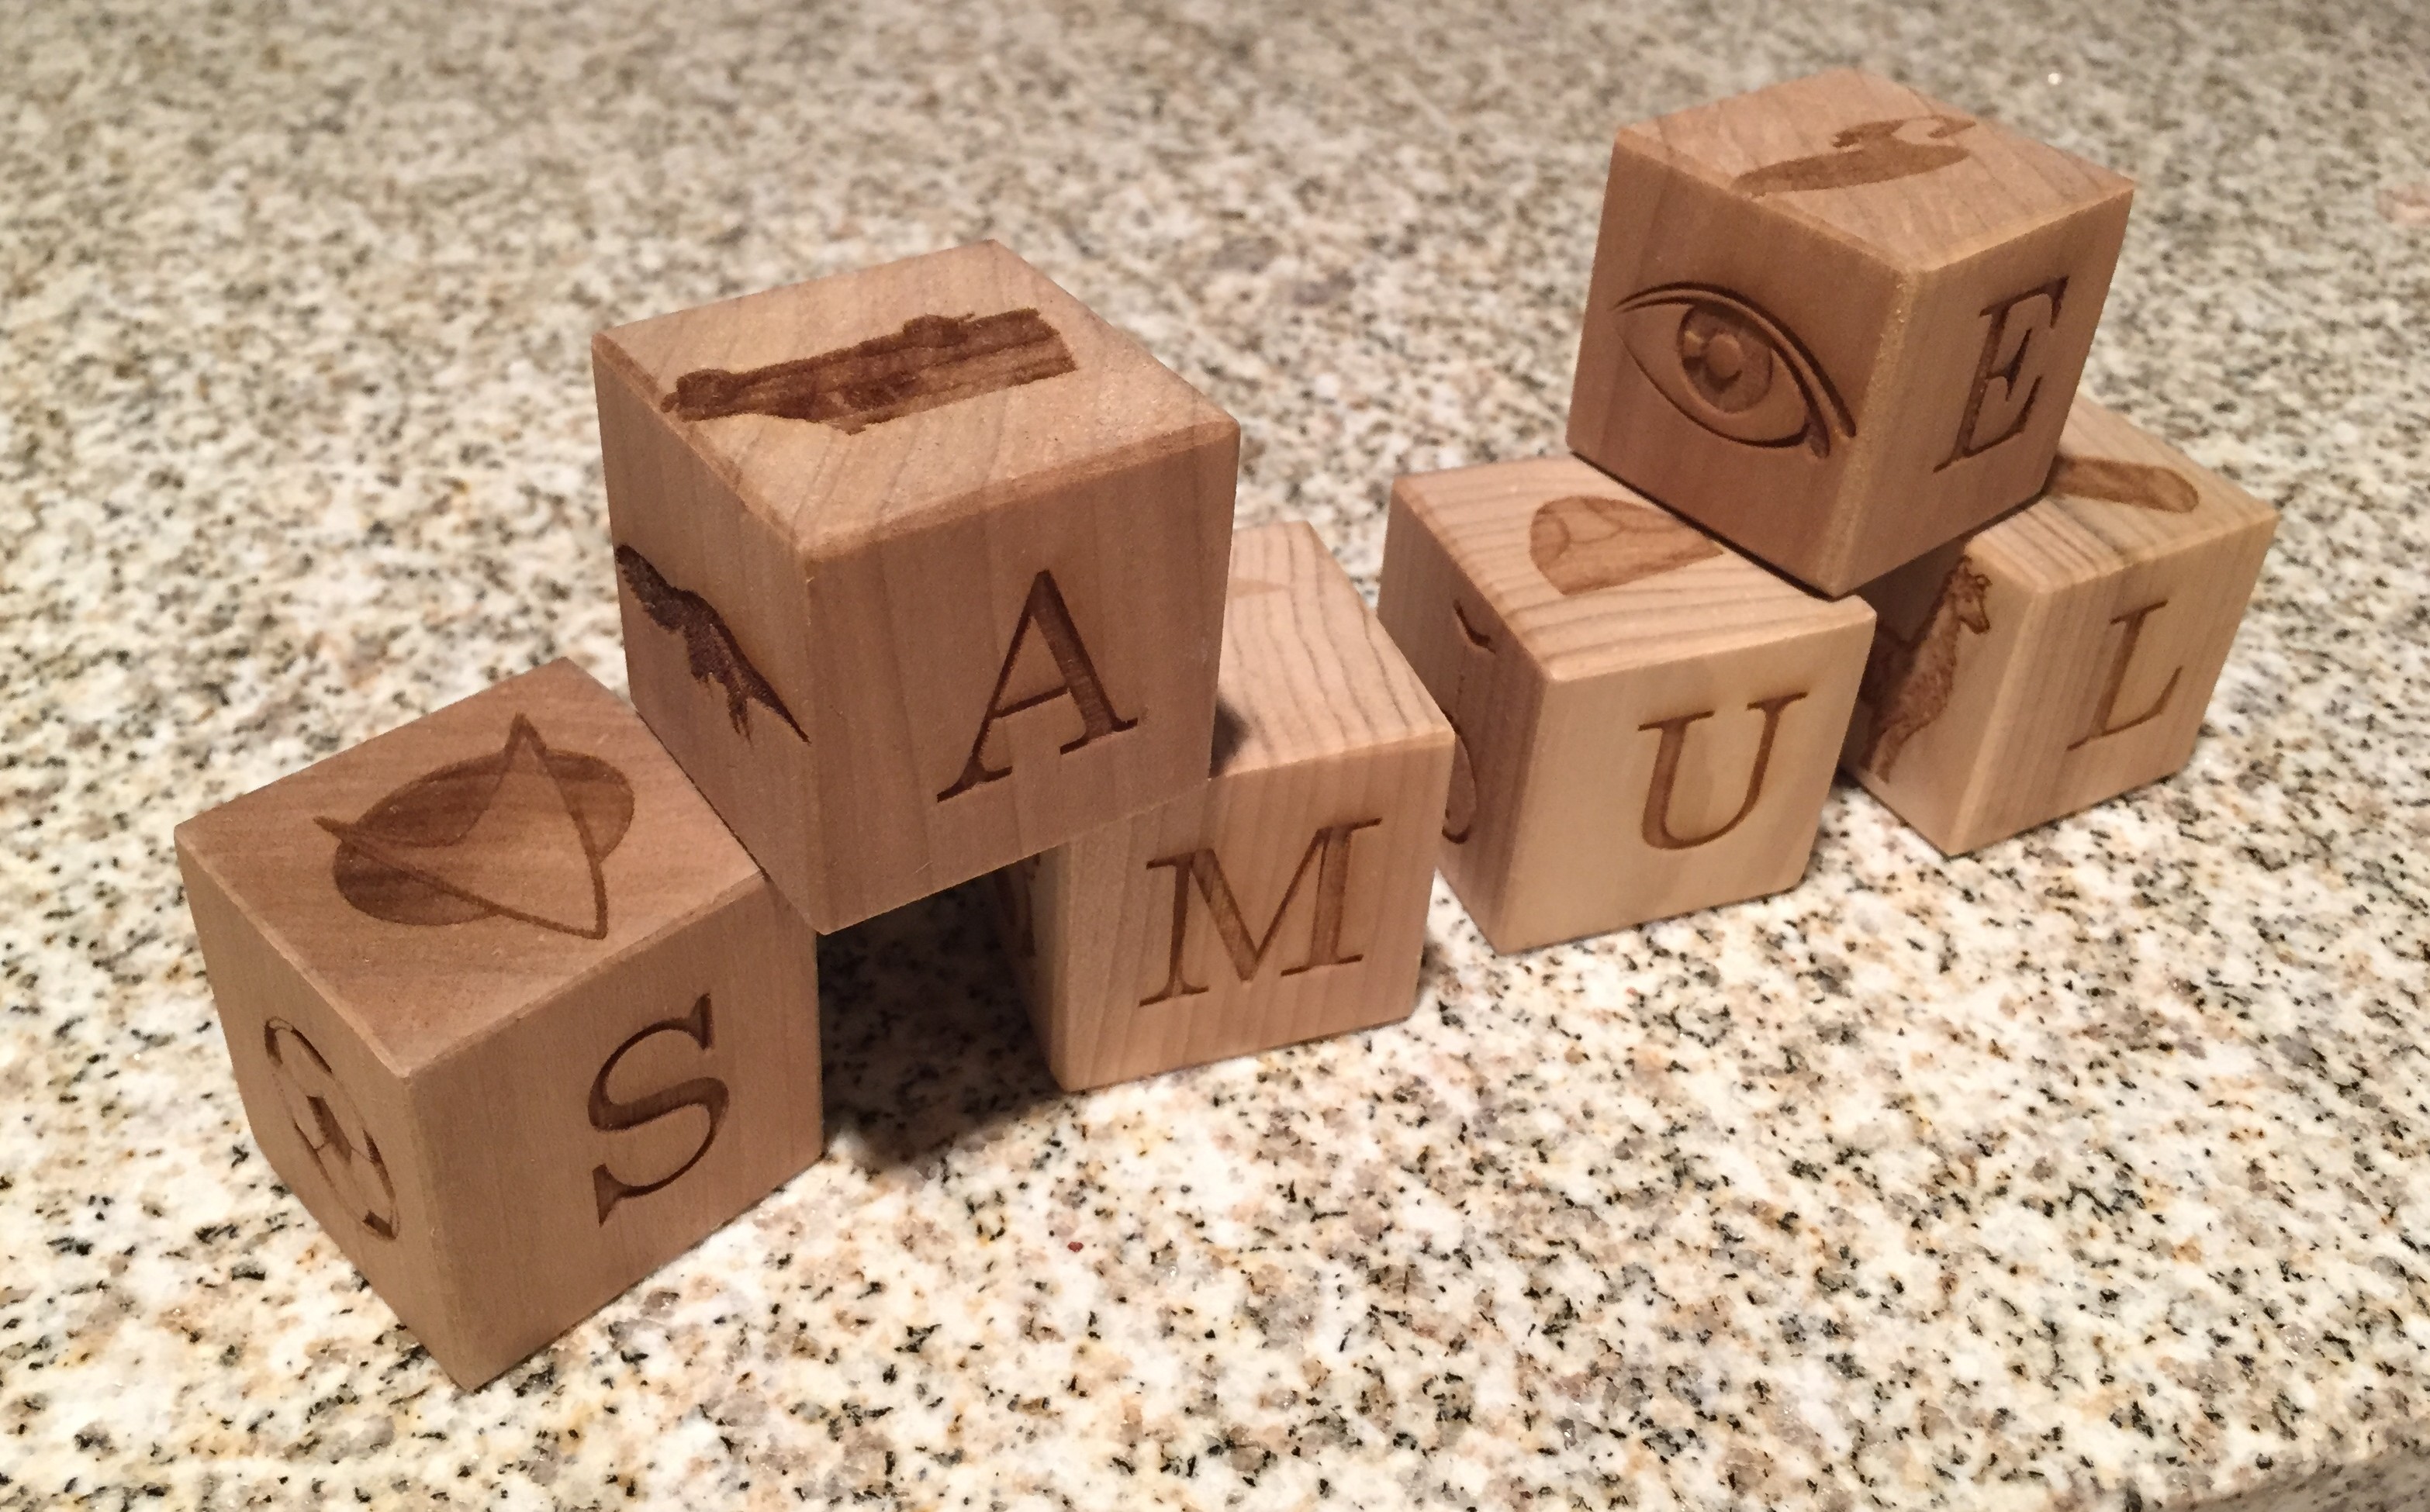
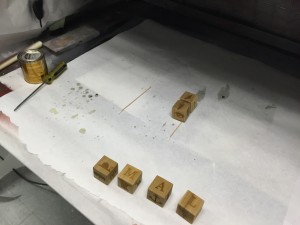 As expected, some of the lighter colors didn’t etch too well. Also, despite the template some of the images were slightly misaligned. Other than that, the etching turned out really nice.
The last step was to apply a couple coats of a polyurethane finish to seal the wood. I lightly sanded the first layer between coats to make the finish more level.
The end result was fantastic and turned out to be an excellent gift.